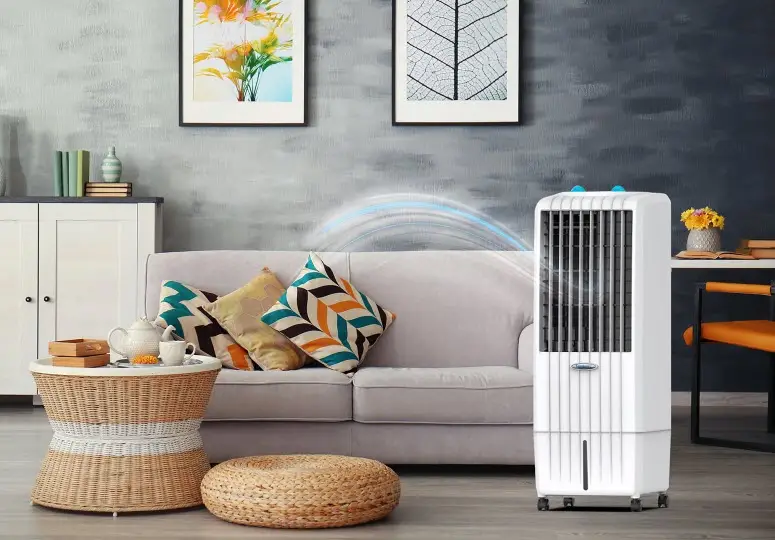
Air coolers are a popular choice for beating the heat during hot summer months. They provide efficient cooling while being energy-efficient and environmentally friendly. To ensure the optimal performance of your air cooler and maintain a healthy indoor environment, it is crucial to clean it regularly. Cleaning an air cooler is important because it not only makes it work better but also stops dirt, dust, and bacteria from accumulating.
Why is Cleaning an Air Cooler Essential?
Cleaning an air cooler is crucial for preventing mosquito infestation and breeding, maintaining the efficiency of air coolers and ensuring the delivery of clean and fresh air. By removing accumulated debris, you can enhance the lifespan of your air cooler and promote healthier air circulation in your home or office.
Cleaning your air cooler on a regular basis offers several benefits
Enhanced Air Purity: As time passes, dust, pollen, and various other airborne particles have the tendency to accumulate within the air cooler, potentially impacting its overall air quality. Regular cleaning helps remove these contaminants, ensuring cleaner and healthier air circulation in your home.
Prevention of Bacterial Growth: Stagnant water in the air cooler can become a breeding ground for bacteria, mold, and mildew. Cleaning the water tank and other components helps prevent the growth of harmful microorganisms.
Enhanced Cooling Performance: Dust and debris can clog the cooling pads of an air cooler, reducing its cooling efficiency. By cleaning the pads regularly, you can ensure better airflow and improved cooling performance.
Steps to Clean an Air Cooler
Step 1: Clean the Water Tank
Prior to proceeding with cleaning tasks, it is essential to disconnect the air cooler from the power source by unplugging it. Drain any remaining water from the tank and remove it. Use a clean cloth or sponge soaked in the solution to clean the tank thoroughly. Pay attention to the corners and edges where dirt and mineral deposits may accumulate. Scrub the interior gently with a soft brush to remove any stubborn stains. Rinse the tank with clean water to remove any soap residue. Once cleaned, place the tank upside down to allow it to dry completely.
Step 2: Clean Honeycomb Pads
Remove the cooling pads from the air cooler. Rinse them under running water to remove dust and dirt. Gently scrub the pads with a soft brush to remove any stubborn stains. Rinse them thoroughly to ensure all detergent is removed. After the completion of the rinsing procedure, it is strongly advised to position the pads in a location that offers abundant air circulation and permit them to undergo a thorough drying process. Prior to reinstalling the pads, it is crucial to verify that they have attained complete dryness.
Step 3: Drain Water and Clean
To avoid stagnant water and unpleasant odors, drain any remaining water from the air cooler. Inspect the underside of the appliance for a drain plug or valve and proceed to open it in order to facilitate the complete discharge of water. Once the drainage process is complete, employ a moist cloth to wipe the inner surfaces, ensuring the elimination of any lingering dampness.
Step 4: Clean the Exterior Body
Wipe the exterior body of the air cooler with a damp cloth. Pay attention to areas prone to dust build-up, such as vents and grills. Use the recommended product Symphony Coolz, if necessary, but make sure it is suitable for the material of the air cooler. Avoid using abrasive cleaners or rough materials that can scratch or damage the surface. Ensure that no water or cleaning solution enters the electrical components of the air cooler. Wipe dry with a clean cloth.
Step 5: Inspect for Any Interior Cleaning
Check the interior of the air cooler for any remaining dirt or debris. Pay special attention to the fan and motor area, removing any dust or debris that may affect the performance of the air cooler.
Step 6: Dry Out Every Part
After cleaning all the components, allow them to air dry completely. Make sure there is no moisture remaining before reassembling the air cooler. This will help prevent the growth of mold or mildew and ensure the proper functioning of the cooler.
Step 7: Add a Protective Cover and Reassemble
Once all the components are dry, reassemble the air cooler carefully. Ensure that all parts are securely attached and in their proper positions. This will help keep your air cooler clean and ready for the next use.
By following these steps, you can effectively clean your air cooler and maintain its performance and durability. Regular cleaning will help ensure that you continue to enjoy clean and refreshing air while extending the lifespan of your air cooler.
Remember, maintaining a clean air cooler not only enhances its functionality but also contributes to a healthier indoor environment for you and your family.
Conclusion
Regular cleaning of your air cooler is crucial to ensure optimal performance and maintain a healthy indoor environment. Remember to clean the water tank, honeycomb pads, wings/blades, and exterior body, and inspect for any interior cleaning. Allow all the components to dry completely before reassembling. By incorporating these cleaning practices into your routine, you can enjoy efficient cooling and cleaner air.
FAQs – Air Coolers
How to Clean an Air Cooler at Home: A Step-by-Step Guide
Q1. How often should I clean my air cooler?
A1. It is recommended to clean your air cooler at least once every two weeks during the summer season to maintain its efficiency.
Q2. Can I use harsh chemicals to clean my air cooler?
A2. No, it is advisable to use like Symphony Koolz cleaner or vinegar solutions to clean your air cooler. Harsh chemicals can damage the components.
Q3. Is it necessary to clean the cooling pads?
A3. Yes, cleaning the cooling pads is essential as they can accumulate dust and reduce the cooler’s cooling efficiency.
Q4. Can I clean the air cooler while it is still plugged in?
A4. No, it is important to unplug the air cooler from the power source before starting the cleaning process to avoid any accidents.
Q5. Should I cover my air cooler when not in use?
A5. Yes, it is recommended to cover your air cooler with a protective cover when it is not in use to prevent dust build-up.